
The complete guide
How to Choose a Camping Kettle That Actually Earns Its Space
The problem with boiling water outdoors
Everyone underestimates this one. At home you flick a switch and walk away. On a campsite, boiling water becomes a small job that eats your attention. You balance a saucepan on a burner, you hover over it, the wind steals half your heat, and either you stand there watching steam for six minutes or you forget about it and come back to a dry pan with a blue stain on the bottom.
Then there is the pouring. Tipping a wide pan into a narrow mug is a two-handed operation involving a tea towel, a bit of luck and usually a splash on the table. If anyone is reaching across for the sugar at the same time, it gets worse.
A dedicated camping kettle fixes both problems. It has a lid, so heat stays in. It has a spout, so water goes where you aim it. And if it whistles, it does the watching for you.
What the whistle actually does for you
The whistle is not a novelty. It is the feature that changes how you use the morning.
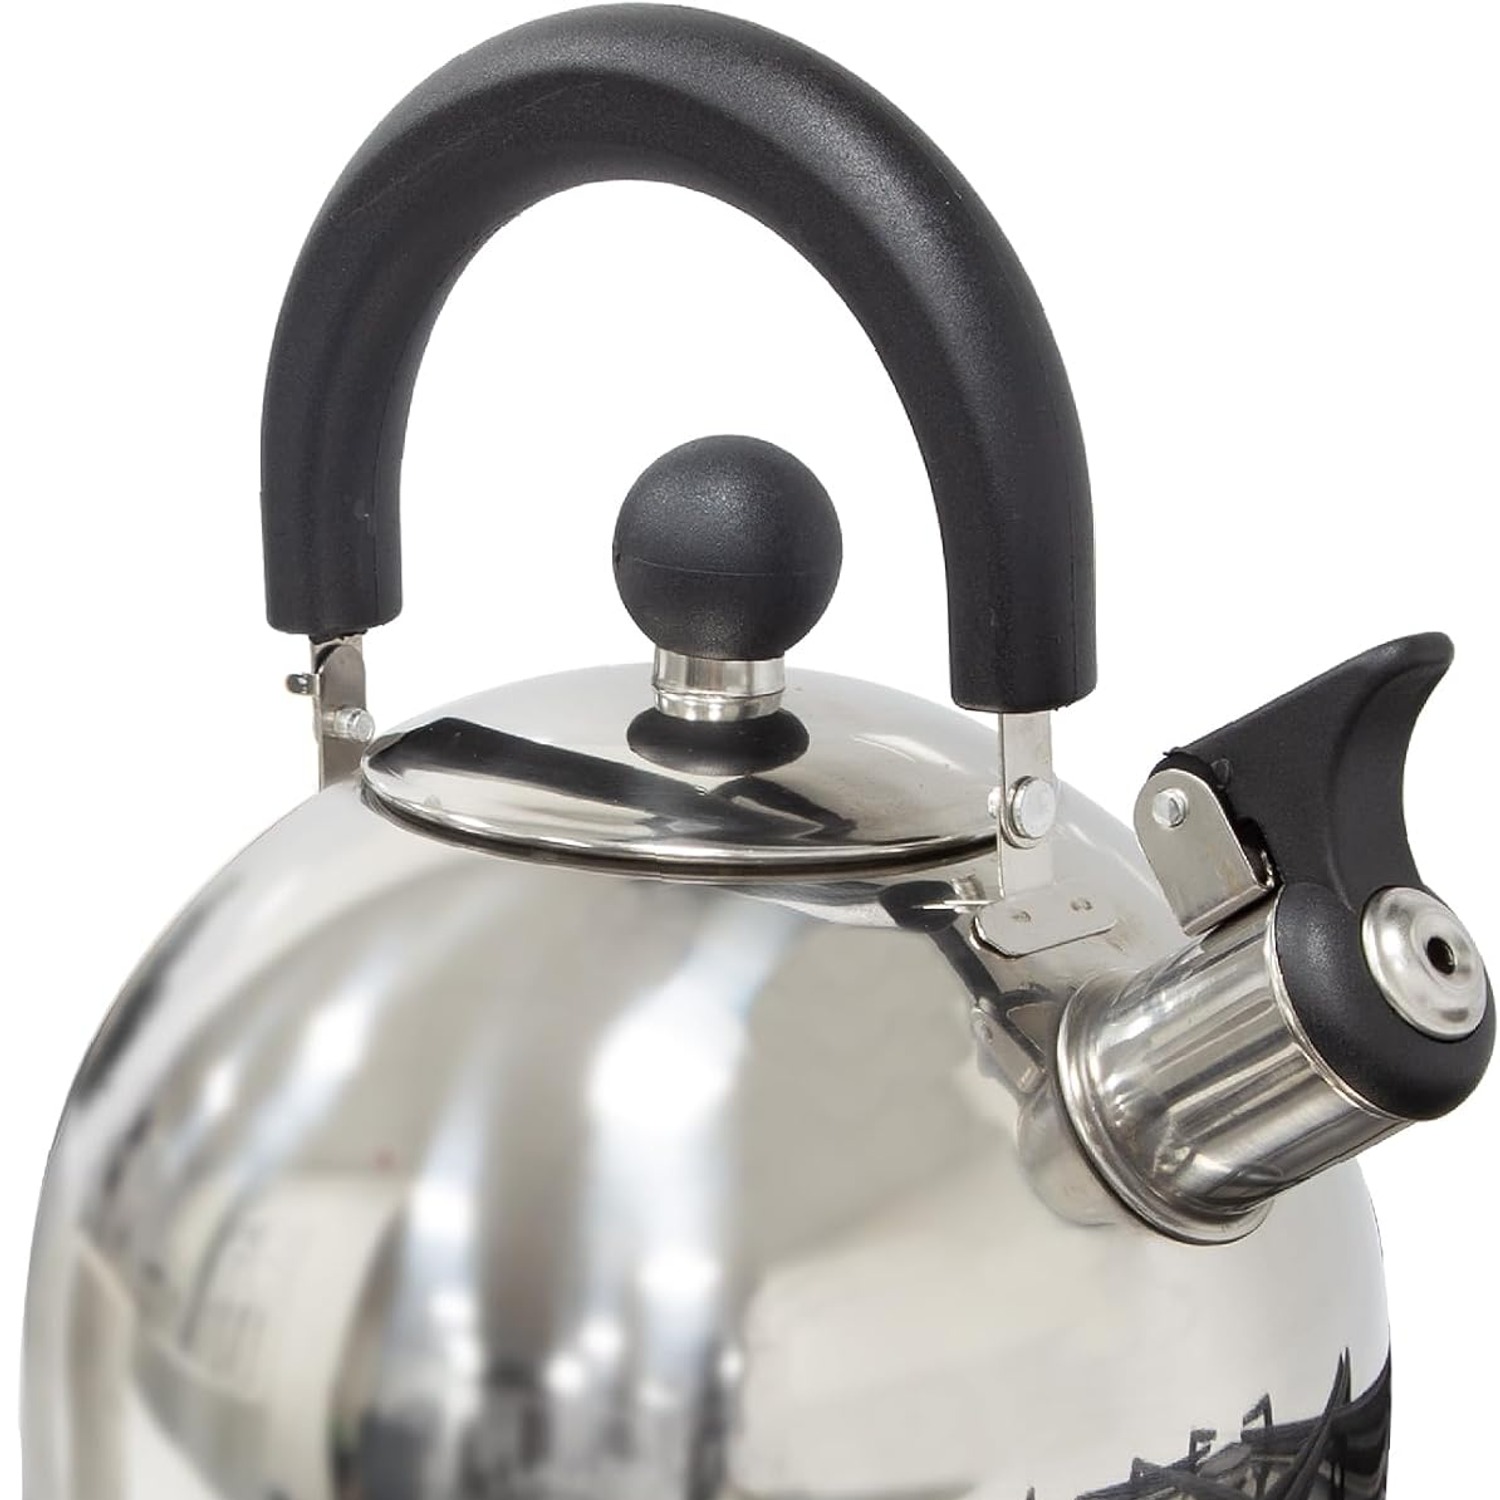
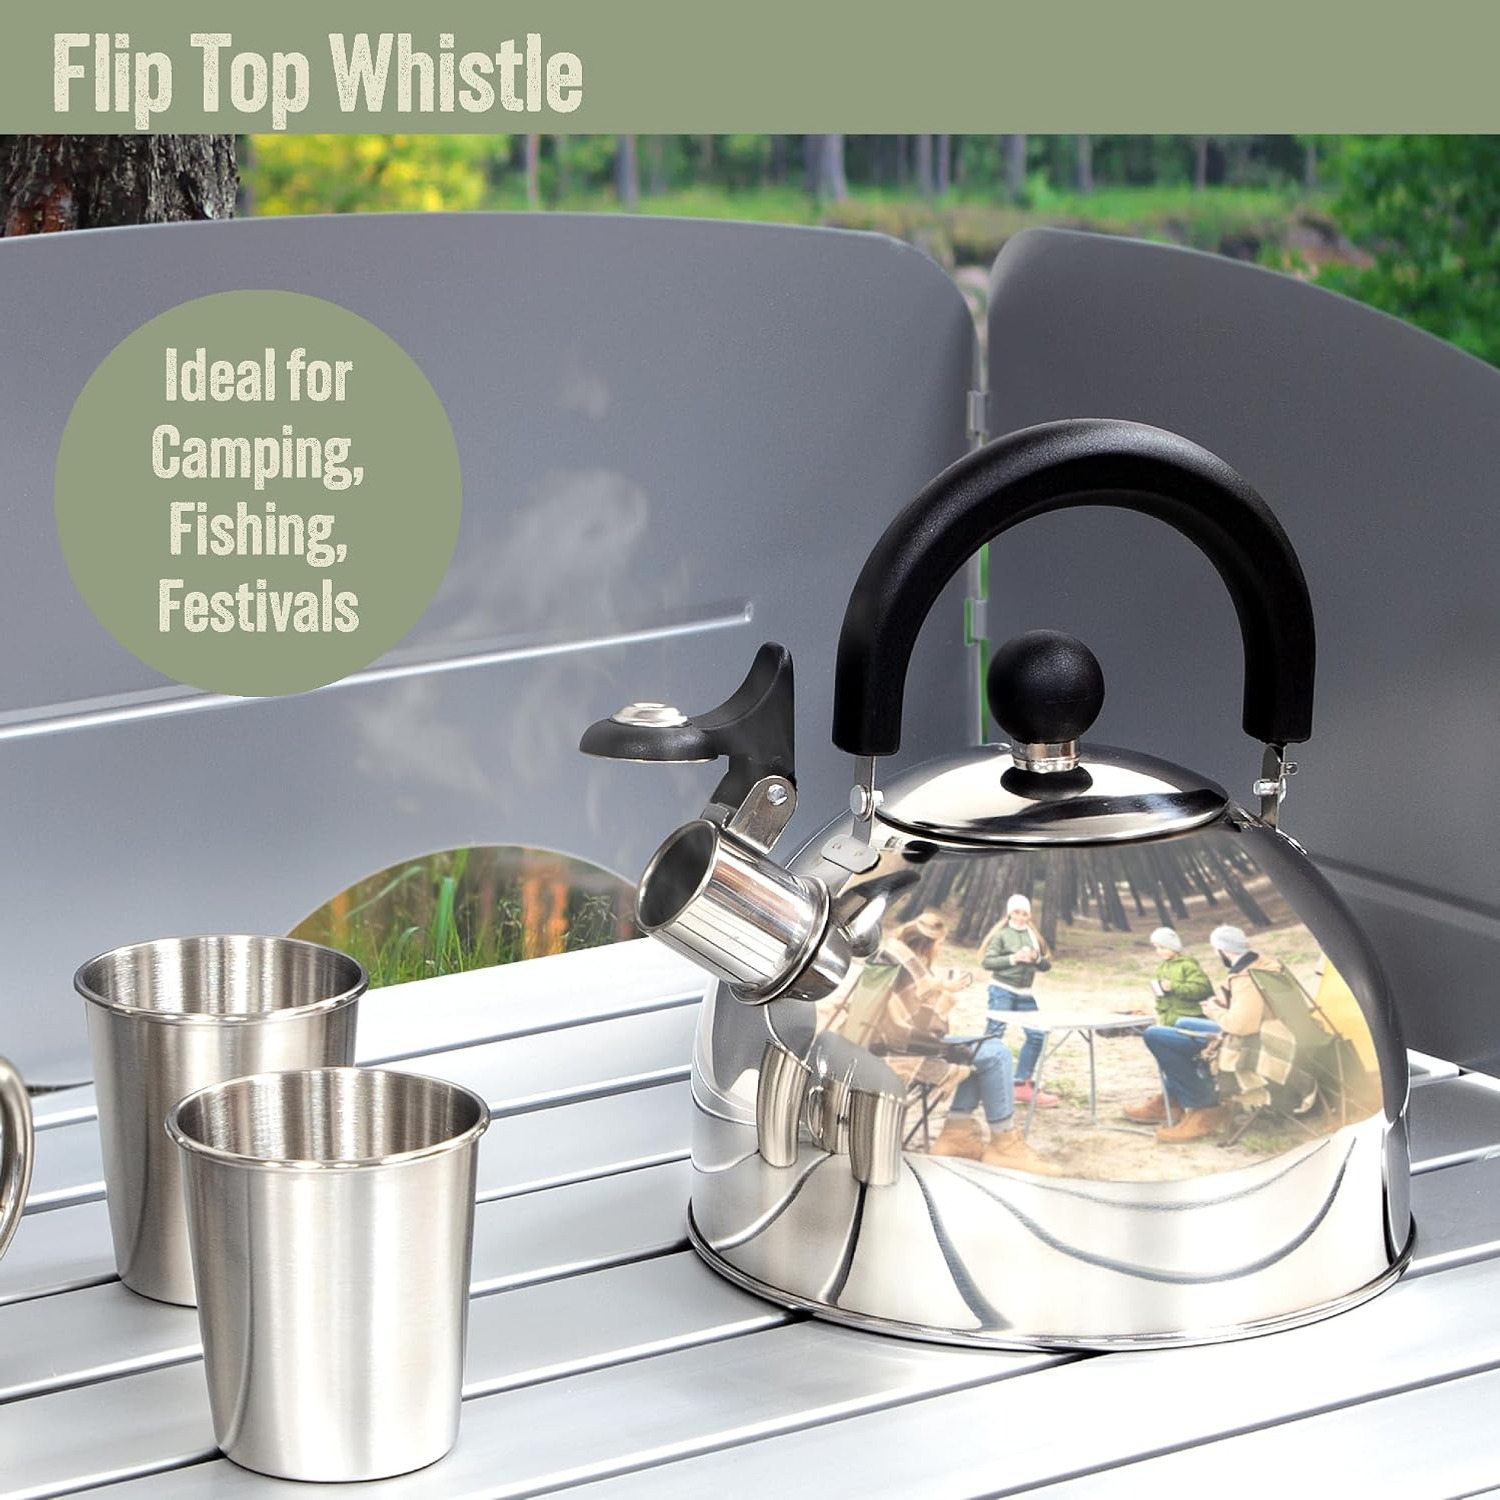
Steam builds inside the sealed kettle and escapes through a narrow cap on the spout, which makes the tone. You hear it from inside the tent, from the other side of the awning, or from the trunk of the car where you are still digging out the coffee. That means you can start the boil and do something else, which is the whole point when you are trying to get four people fed and packed.
It also saves fuel. Gas canisters are not free, and a kettle that sits boiling for an extra three minutes because nobody noticed is wasted gas. The whistle marks the exact moment to turn the burner off.
The practical consequence worth knowing: for the whistle to work, the lid has to be seated properly and the spout cap has to be closed. If you leave the cap flipped open, the steam escapes silently and you are back to guessing.
Why 2 liters is the sweet spot for most people
Capacity is the number that decides whether a kettle annoys you or not.
Too small and you boil twice, which means the first two people get hot drinks and the rest wait. Too large and you waste gas heating water you do not need, plus it takes up a chunk of your kitchen box.
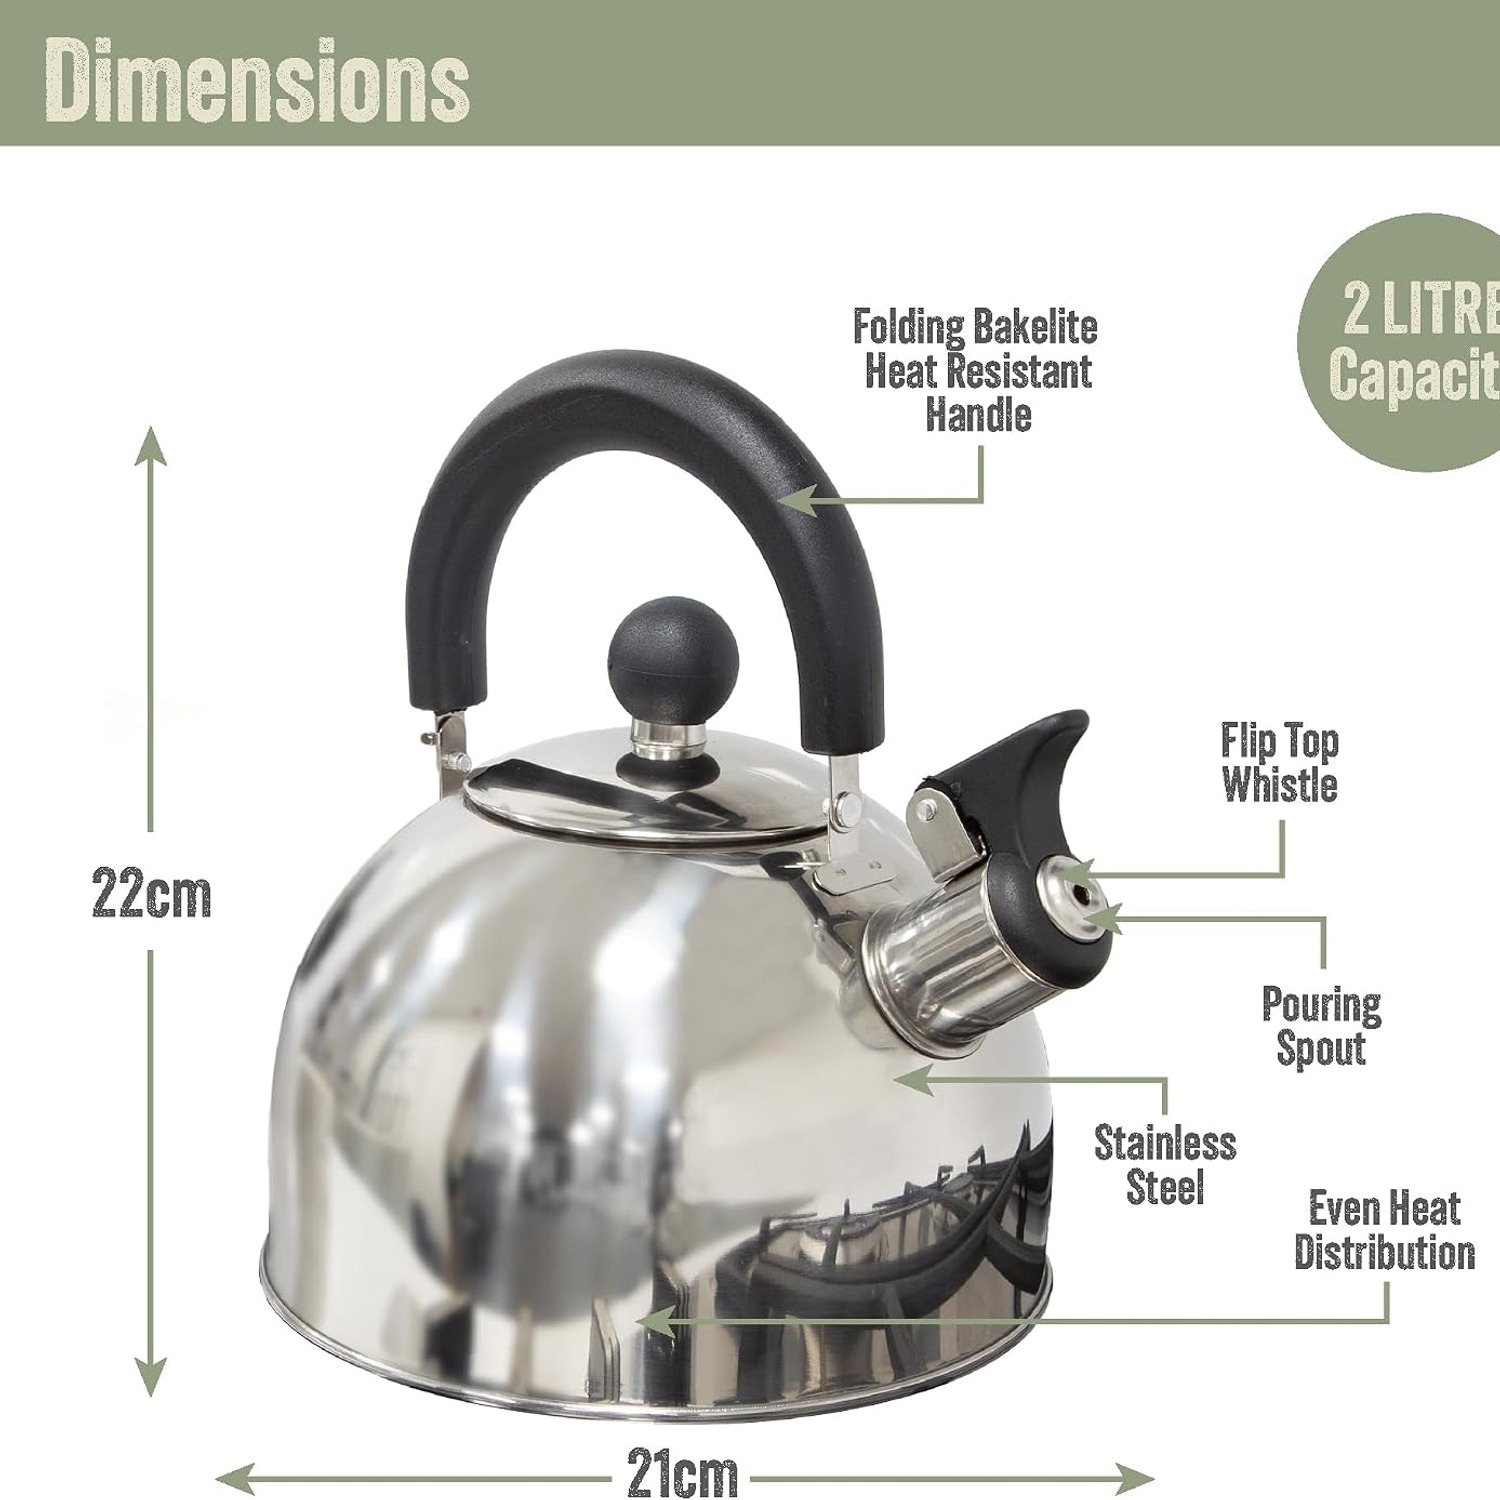
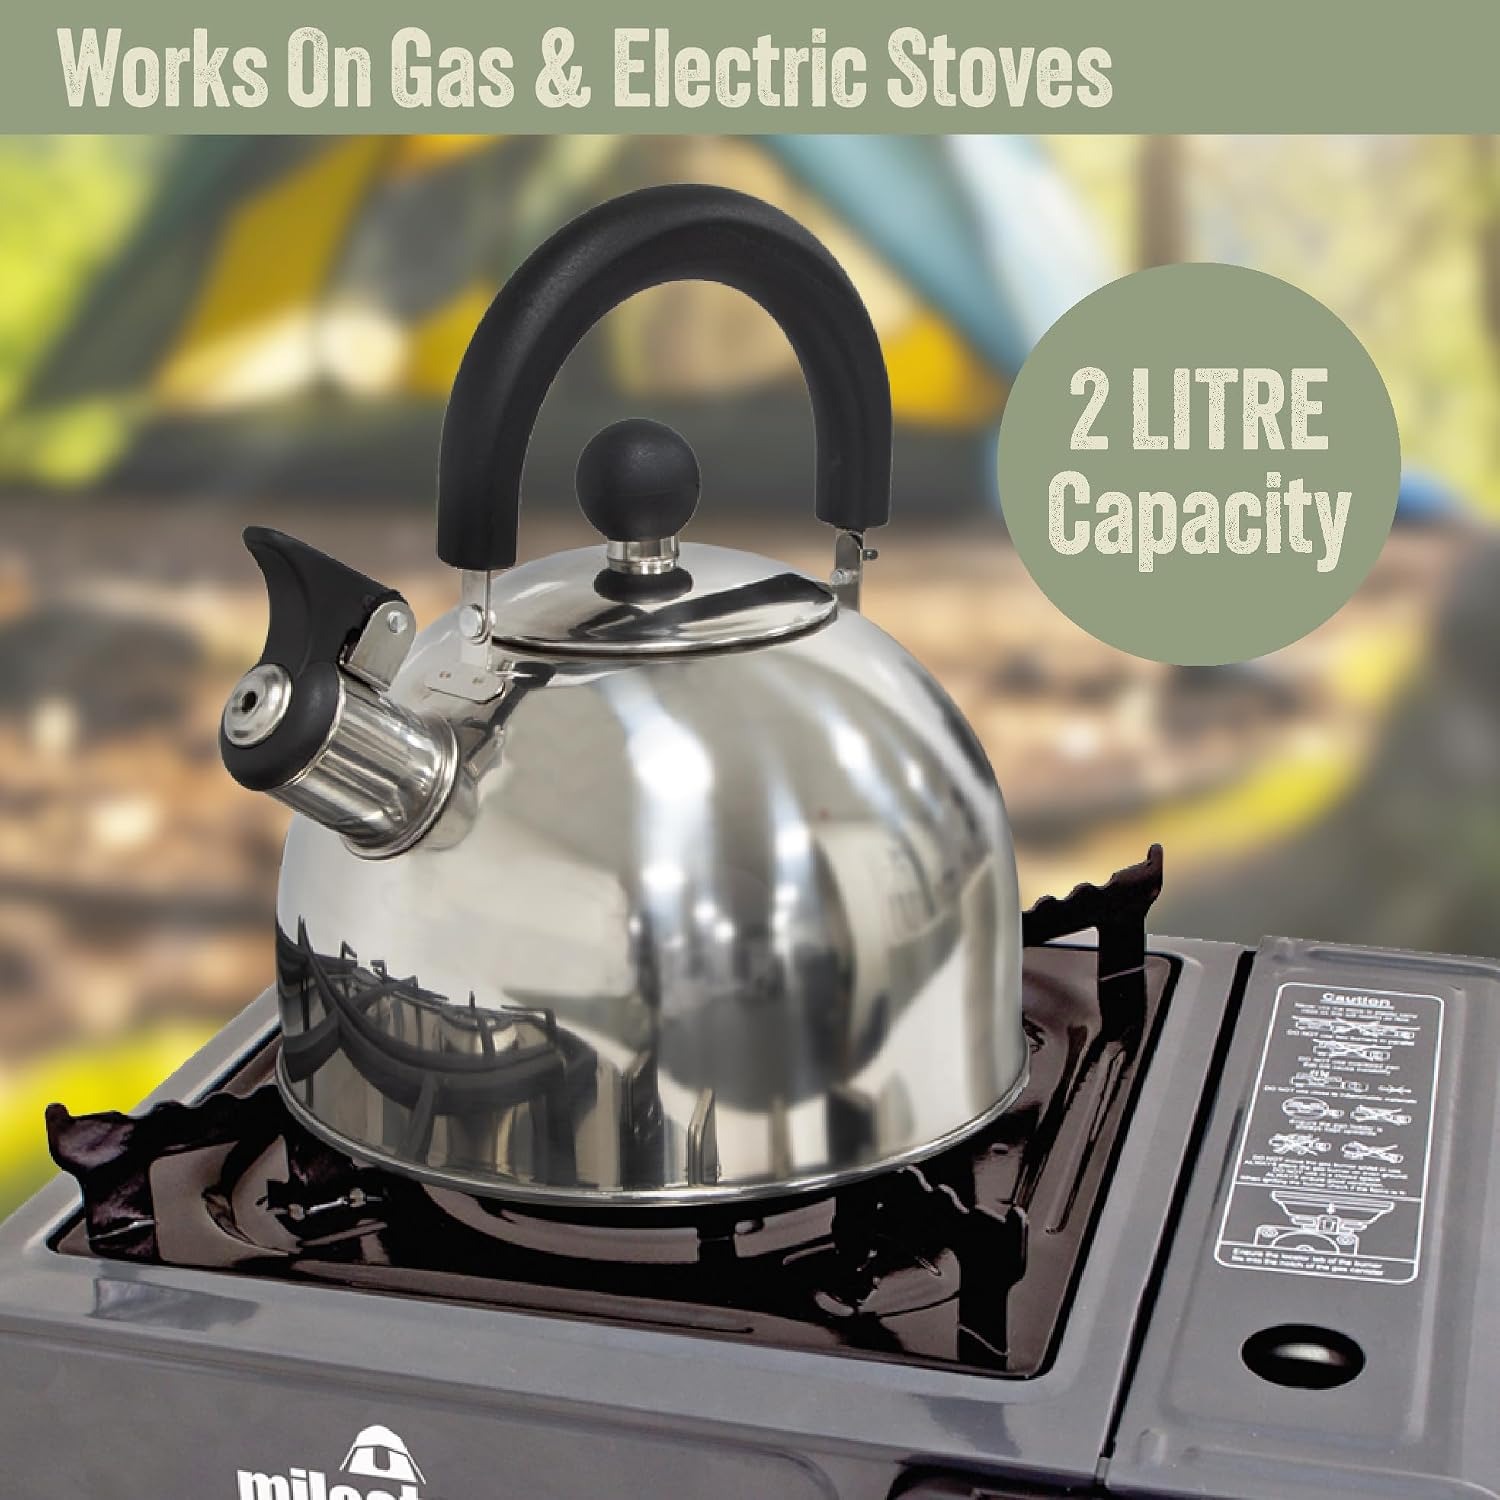
Two liters sits in a good place. It fills roughly eight standard mugs, or five to six of the oversized enamel ones people actually use on a campsite. It also covers a decent bowl of washing-up water, which is the second job a camp kettle does all the time. If you are a couple, you will not fill it to the top every time, and that is fine. If you are a family of four, one boil usually does breakfast.
Where 2 liters is wrong is solo backpacking. If you carry everything on your back, you want a small titanium pot or a 0.7 liter kettle, not a 2 liter one. This size is built for car camping, caravans, boats and anywhere the kettle rides in a crate rather than a backpack.
Materials, and why the handle matters more than you think
This kettle uses stainless steel and aluminum, with a stainless steel lid.
Stainless steel is the sensible choice for the body. It resists rust, it takes knocks, and it does not care if it gets packed next to a tent peg bag. Aluminum in the build helps heat move across the base rather than concentrating in one spot, which gives you a more even boil on a camp burner.
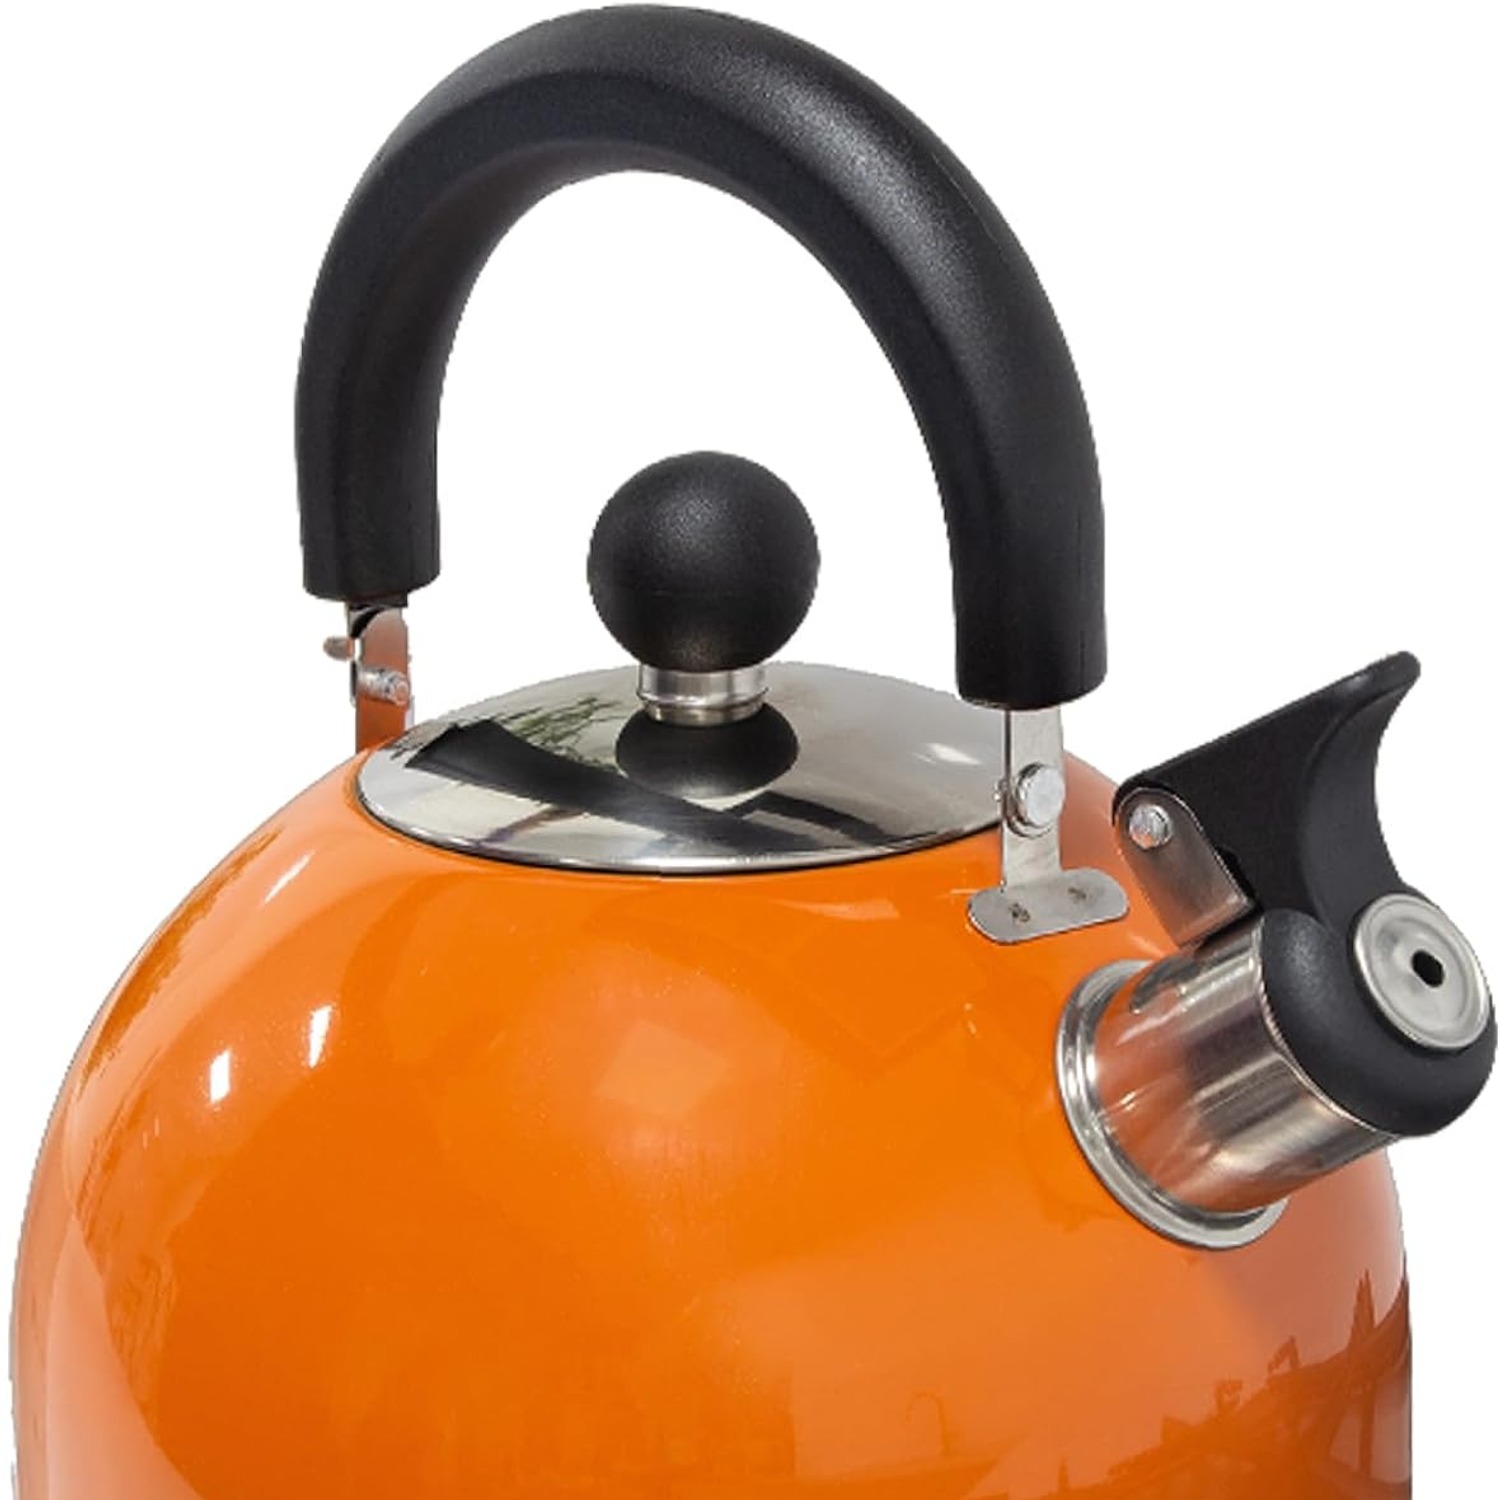
The handle is Bakelite and it folds. Both of those details are worth a moment.
Bakelite is heat resistant, which is why it has been used on cookware handles for the best part of a century. On a camp stove, the metal body gets seriously hot, and a bare metal handle means hunting for a cloth every single time you pour. A Bakelite handle means you pick it up and pour.
The folding part is about storage. Standing handles catch on everything when you lift a kettle out of a packed box. Fold it down and the kettle sits lower and flatter, which matters when your camp kitchen already has three pans, a chopping board and a gas bottle competing for space.
One habit to build: keep the flame under the base, not licking up the sides. Flames that wrap around the body will eventually reach the handle, and no heat-resistant material likes direct fire.
Matching the kettle to your heat source
Think about where you will actually boil it.
On a gas camping stove, a wide flat base like this one is ideal. Match the burner size to the base. A tiny flame under a wide base wastes time, and a huge flame under a narrow base wastes gas up the sides.
On a campfire, use a grate or trivet rather than setting it straight into the embers. It will work, but expect soot on the outside. That soot is harmless and some people never clean it off, though it will mark whatever you pack it next to. A cloth bag solves that.
In a caravan or boat galley, it works on the hob like any kettle, with the bonus that it does not need power. That is why people keep one aboard even when they have an electric option at the dock.
For induction, check first. The record here does not state induction compatibility, and because aluminum is in the mix, do not assume. A fridge magnet on the base is the quick test.
Who this suits
The best camping kettle for you is the one that matches how you travel.
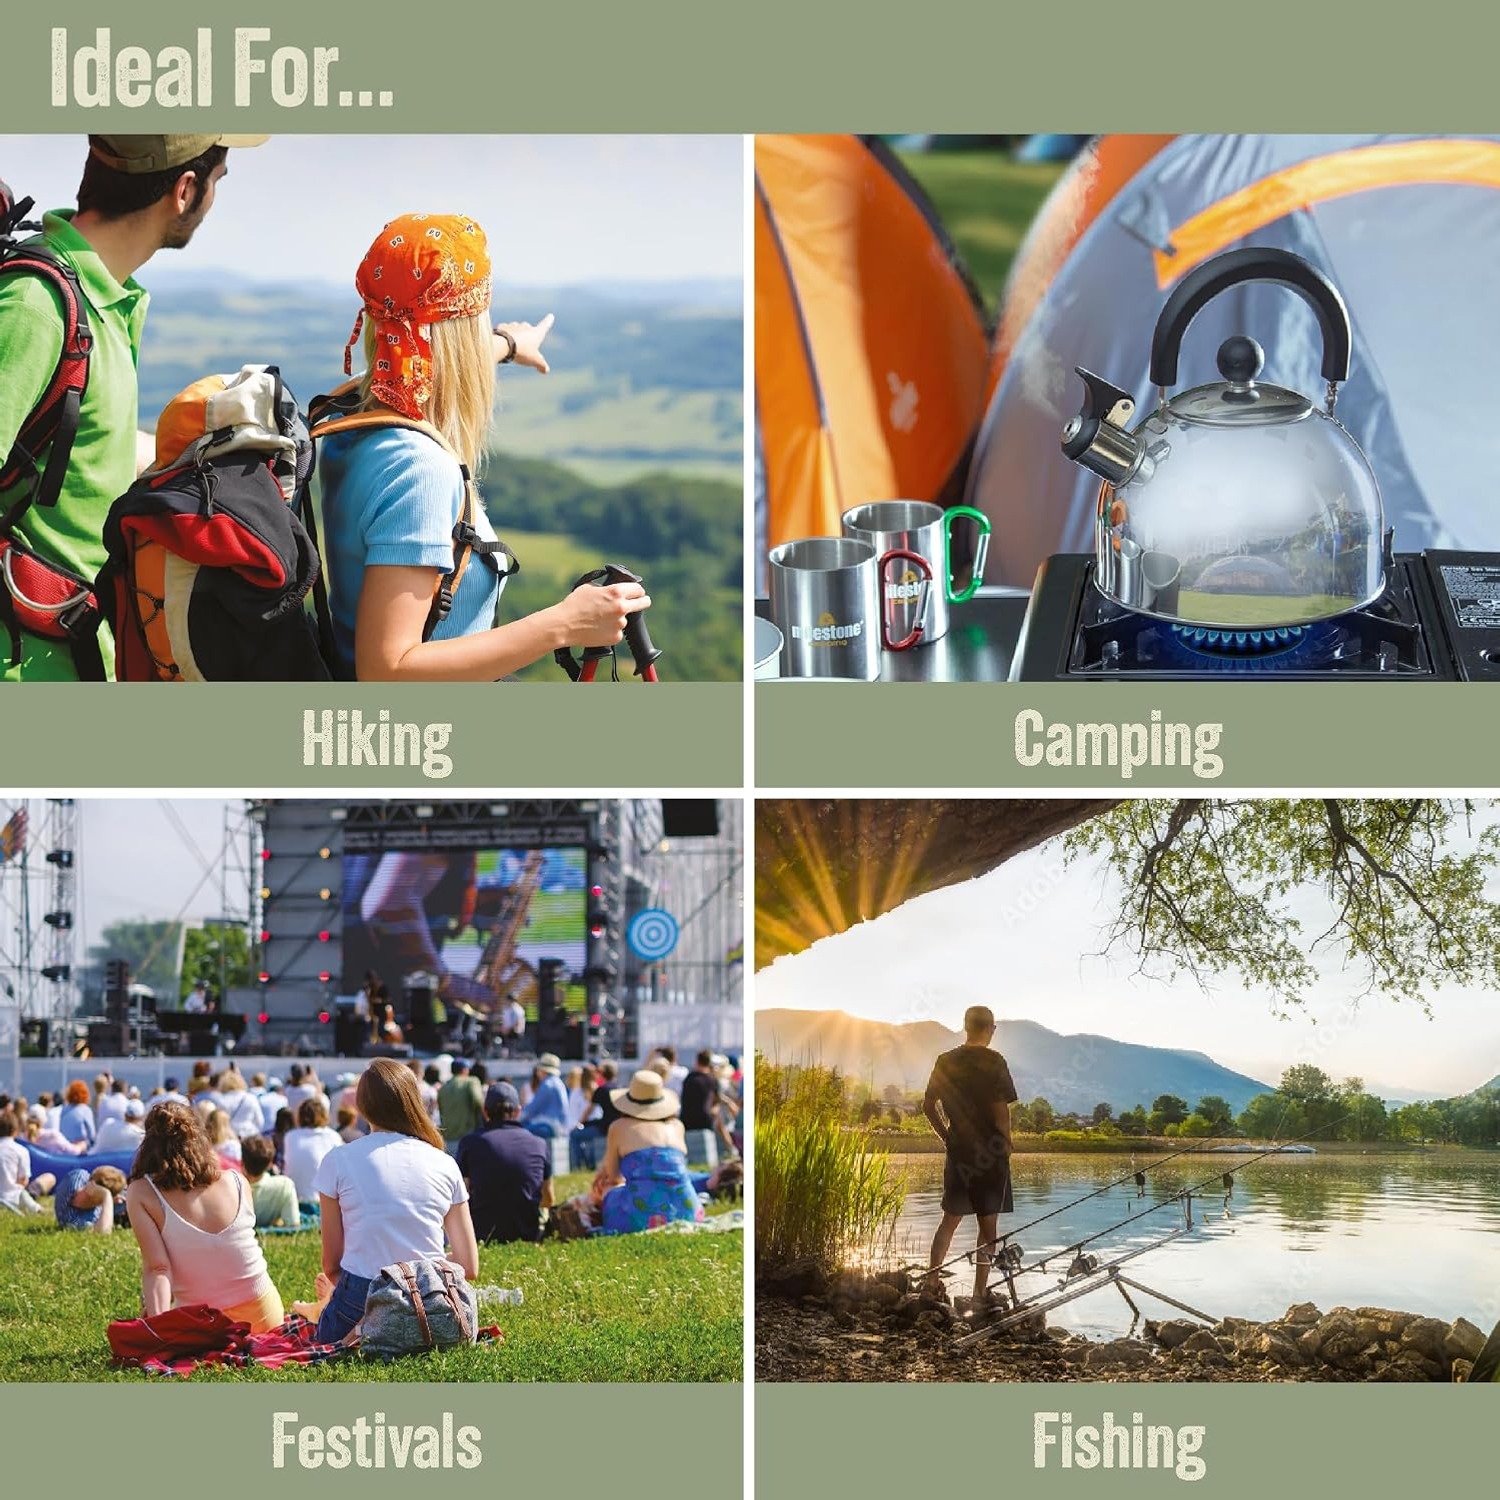
This suits families at a campsite, people with a caravan or motorhome, anglers who want tea at the bank, boat owners, and anyone with a workshop or garage where there is a gas burner but no handy socket. It also suits people who want one kettle that handles drinks and washing-up water without a second pot.
It does not suit ultralight hikers, anyone who needs a gooseneck spout for precision pour-over coffee, or anyone cooking for a very large group who would be better served by a bigger pot.
Looking after it
The care list is short, and following it keeps a kettle going for years.
Hand wash only. This one is listed as not dishwasher safe, so warm water, a little dish soap and a soft sponge are what you want. Let it cool completely first, because thermal shock does no favours to any metal pot.
Skip the steel wool on the outside. It will scratch the finish and give grime somewhere to settle. If the base picks up soot from a fire, a non-scratch pad and patience work better than brute force.
For mineral scale inside, soak with a mix of water and white vinegar, leave it an hour, then rinse really well. Hard water areas will need this a few times a season.
Dry it before you pack it. This is the big one. Almost every kettle that develops marks or odd smells was put away damp. Dry inside and out, store with the lid off or loose, and check the whistle cap is clear before your next trip.
The short version
A 2 liter whistling camp kettle is one of those bits of gear that quietly improves every trip. It holds enough for a group, it tells you when it is ready, it pours where you point it, and the folding handle keeps it from fighting with the rest of your kit.
Check the base against your stove, keep the flame under it rather than around it, close the lid and the whistle cap so it can do its job, and dry it before it goes back in the box. Do that and you will stop thinking about boiling water altogether, which is exactly the point.